
Whittle and Whisk: A Step-by-Step Guide to Crafting Your Own Wooden Cutting Boards
How to Make Your Own Wooden Cutting Boards: A Step-by-Step Guide through the Process
“A Journey Into Culinary Craftsmanship,” a Journey Through Whittle and Whisk
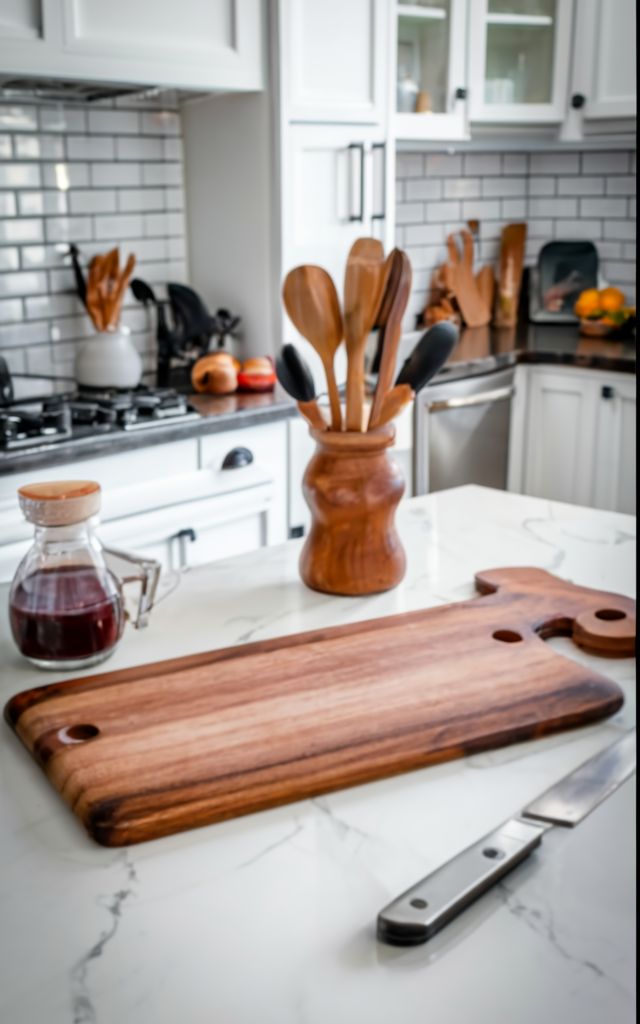
The use of wooden cutting boards in the kitchen cabinets is a reliable friend in the process of chopping, slicing, and dicing food. These boards are not only tools but rather reliable companions in the culinary dance. A personal touch is added to your collection of kitchenware when you make the effort to fashion your own wooden cutting board. This allows the nuances of your design preferences to shine through and make your collection more unique. We will embark on a journey of whittling and whisking in this comprehensive book, navigating the numerous procedures toward the creation of hardwood cutting boards that are both beautiful and functional.
- How to Choose the Appropriate Timber for Your Project
A crucial first step that must be taken before delving into the world of cutting board production is to choose the appropriate type of wood for the activity that is currently being performed. When it comes to qualities, different species of wood offer a wide range of options, ranging from endurance and hardness to visual attraction. As a result of their durability, appealing grain patterns, and natural resistance to moisture, maple, walnut, cherry, and teak have emerged as preferred candidates for the building of cutting boards. Learn about the distinctive qualities that each species of wood possesses, and make sure that your selection is in line with the requirements of your culinary activities.
- Design and blueprinting of the project
When the process of selecting the wood has been completed, the next part will begin, which is the process of designing and drawing out the blueprints. Aspects such as proportions, shapes, and embellishments like handles or elaborate inlays should be taken into consideration. In spite of the fact that rectangular and square designs offer possibilities that will stand the test of time, you should not be afraid to experiment with atypical forms such as round or oval in order to give your project a unique flavor. Before beginning the process of making, you should first create a concrete blueprint by sketching out your vision on parchment or by using design software.
- Equipment and Other Provisions
Now that you have a clear vision and a supply of timber, it is time to put together the kit of equipment and provisions that will be necessary for the journey that lies ahead:
For the purpose of timber sizing, a circular saw or table saw
Planer or thickness planer for the purpose of refining the surface of wood
Router designed for profiles with complex edges
For the purpose of securing the wood in place during installation, clamps
For the purpose of achieving a polished finish, sandpaper or an orbital sander can be utilized.
In order to protect your work and highlight the natural beauty that it possesses, expand your toolset to include high-quality wood glue and a finish that is appropriate for use with food, such as mineral oil or beeswax.
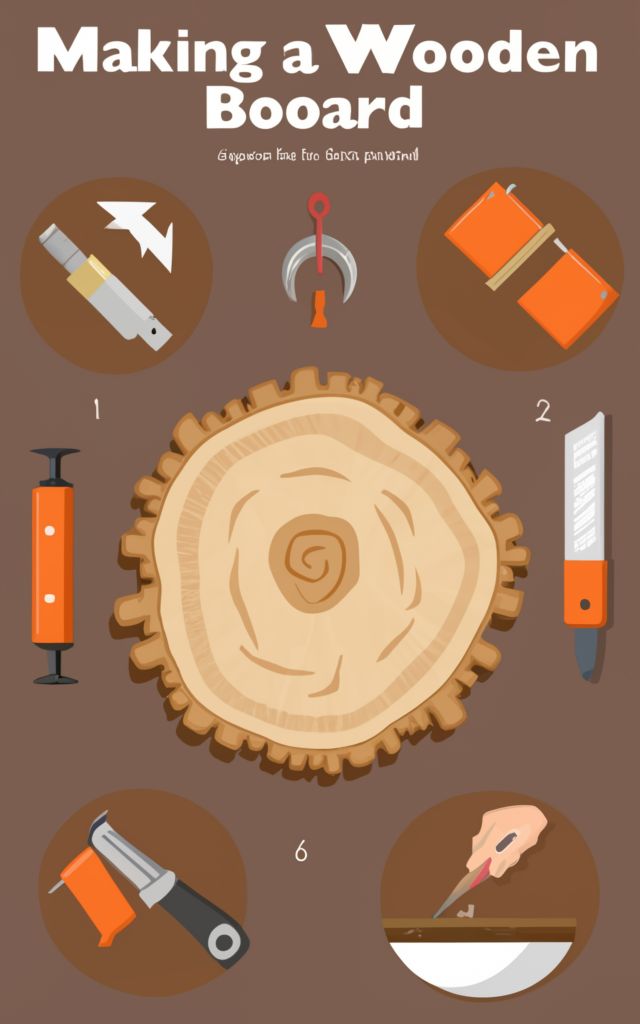
- The Fabrication Process, Step-by-Step
Following the completion of the necessary preparations, let us now proceed with the construction of your wooden cutting board in the following series of steps:
A circular saw or a table saw should be used to cut the timber into the correct proportions. This is the first step in the preparation of the wood. To ensure that the thickness of the wood is consistent throughout, use a planer or thickness planer to smooth and flatten the surface of the board.
Meeting of the Board: Wood glue should be applied to the edges of the timber, and then clamps should be used to secure it. This will ensure that the edges are perfectly aligned and perfectly cohesive. To verify that the corners are aligned properly and to correct any inconsistencies, you should use a square. Before disbanding the clamps, be sure the adhesive has had sufficient time to completely cure.
After the adhesive has had time to dry, you should begin the sanding process by using progressively finer grades of sandpaper or an orbital sander. When you are finished, polish the surface. Attention should be paid to the upper and bottom surfaces, as well as the edges, in order to achieve a faultless and consistent texture. After sanding, apply a finish that is safe for food. Some examples of food-friendly finishes include mineral oil and beeswax. This will protect the wood and highlight its natural beauty. Before beginning the culinary adventure of the cutting board, it is important to wait until the finish has completely dried out.
5. Care and attention on a regular basis
Now that your wooden cutting board has been brought into life, it is vital that you do meticulous care and nurture on it in order to ensure that it will continue to be effective and durable. Observe the guidelines that are specified below:
For the purpose of preserving the aesthetic integrity of your cutting board, when you have finished your culinary endeavors, clean it with tepid water and a gentle dish soap. Use a gentle sponge or cloth to remove any leftovers of the cooking process. Avoid immersing the item for an extended period of time in water or washing it in the dishwasher since prolonged contact to moisture might cause warping or fissuring.
Regular Consumption of Food: A thin layer of mineral oil or beeswax should be applied to the surface of the cutting board on a regular basis in order to prevent the wood from drying out and to refill the moisture that it has lost. To ensure that the oil is distributed evenly, use a clean cloth and wait for it to absorb for a number of hours or overnight before blotting away any excess.
In conclusion,
The journey of making your wooden cutting board is filled with a variety of pleasures and gratifications, which ultimately results in a combination of practicality and aesthetic appreciation. In the area of culinary arts, you leave behind a testament to your workmanship in the form of a treasured, enduring artifact that goes beyond ordinary function. This comes about as a result of your careful selection of timber, careful planning and design, and methodical execution of building and maintenance standards.
(FAQs) stands for “Frequently Asked Questions.”
There are a variety of woods that can be used to make cutting boards.
Despite the fact that there are a multitude of wood species that have promise, hardwoods such as maple, walnut, or cherry should be prioritized because of their durability and resistance to wear and strain.
How thick should a cutting board be in order to be considered ideal?
The thickness in the normal range is between one and one and a half inches; however, variations are allowed depending on the preferences of the individual and the requirements of the utility need. Sturdiness is provided by boards that are thicker, while maneuverability is provided by comparable boards that are thinner.
Which finish of a cutting board is considered to be the best?
Choose finishes that are appropriate for food, such as mineral oil or beeswax, which offer protection against moisture and the spread of microorganisms without imparting any harmful compounds or odors.
What is the recommended frequency of applying oil to my cutting board?
Applications of oil on a predetermined schedule, preferably once a month or in response to signs of desiccation, ensure that the moisture content of the wood is maintained and that it retains its aesthetic quality over time.
Would it be possible for me to use my cutting board for chopping fresh meat?
When it is acceptable, it is important to perform thorough cleansing and sanitation rituals after use in order to prevent cross-contamination and gastrointestinal disorders. Consider using different cutting boards for different types of food in order to prevent food from coming into contact with one another and reduce the risk of germ transmission.